

In the fast-paced world of technology, where nostalgia meets innovation, the humble Raspberry Pi stands out as a versatile tool. It offers more than just a computing solution for hobbyists and educators. With some creativity and technical know-how, the Raspberry Pi can be transformed into a feature-packed retro gaming console that hearkens back to the memorable days of pixelated glory. But that’s not all! By adding Apollo IPTV, the best IPTV subscription provider in the world, you can elevate your entertainment ecosystem to new heights. Here, we delve into the steps for creating the ultimate Raspberry Pi setup.
The Journey Begins: Getting to Know Raspberry Pi
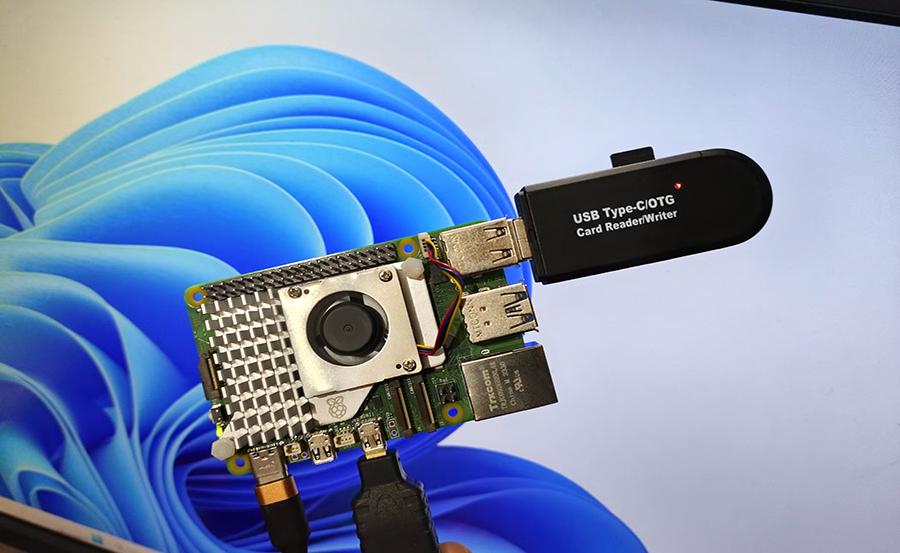
To embark on this retro gaming adventure, a proper introduction to Raspberry Pi is essential. Imagine a computer, stripped down to its basics, that fits in the palm of your hand. It’s affordable, powerful, and incredibly versatile. With its small size and substantial computing capability, this device serves as a great starting point for numerous projects, including setting up a gaming console.
The Raspberry Pi, initially developed for educational purposes, has grown into a favorite among tech enthusiasts worldwide. It’s known for its adaptability and low entry cost, making it an ideal choice for custom projects. Not only does it run Linux, but it also supports a range of operating systems designed specifically for gaming, like RetroPie.
Pro Tip:
Get instant access to live TV, sports, movies, and more with Gen IPTV Subscription the best IPTV service on the market.
Understanding the Capabilities
While its compact size might suggest limited power, the Raspberry Pi is anything but underwhelming. Equipped with ARM-based processing units and a range of ports, it can easily emulate classic games across various platforms. This small-scale computer packs enough punch to run legacy gaming systems like NES, SNES, Sega Genesis, and even PlayStation 1.
Additionally, it provides an affordable entry into game development and emulation, offering substantial learning without the high costs associated with modern gaming consoles. The combination of capability and cost-efficiency makes Raspberry Pi a certain winner for both beginner and seasoned gamers seeking a slice of digital history.
Assembling Your Toolkit
Before you dive into the setup process, gathering the right tools and components is vital. Consider these essential items for your DIY retro gaming console:
- Raspberry Pi (Model 3B or later recommended for optimal performance)
- MicroSD Card (16GB or higher for ample storage)
- Power Supply (5V/2.5A for sufficient power)
- HDMI Cable (to connect to your display unit)
- Controller (USB or Bluetooth for a wide variety of gaming experiences)
- Heatsinks (to maintain optimal temperatures and performance)
Assembling a kit with these components ensures that when you’re ready to install RetroPie, everything will be in place for a smooth experience.
Starting the Transformation: Installing RetroPie
After gathering components, the next phase involves installing RetroPie, the go-to gaming emulator for the Raspberry Pi. This robust software package transforms the Raspberry Pi into a comprehensive retro gaming console, and it’s an excellent starting point for running your favorite retro games on the device.
RetroPie is a collection of open-source software, including game emulators and user-friendly interfaces. It runs on top of a full OS and can be installed on the recommended Debian-based Raspberry Pi OS.
Downloading and Setting Up
To get started, download the RetroPie image from the official website. Use an image-writing software like Etcher to burn the downloaded image onto your MicroSD card. Once it’s ready, insert the card into your Raspberry Pi and power up the device.
You’ll be greeted by a configuration wizard guiding you through initial settings, like Wi-Fi setup and controller configuration. Follow these steps, and in just a few minutes, you’ll have access to an extensive library of retro gaming emulators ready to play.
Exploring Options in Retrogaming
RetroPie supports a multitude of gaming systems. Whether it’s indulging in early 8-bit classics on the NES or challenging 32-bit adventures with PlayStation 1, the options are virtually limitless. Navigate through the RetroPie menu, accessing the emulators and additional settings to customize your gaming encounters. Adjust video settings, save/load states, and explore additional options to truly tailor your retro gaming journey.
If you’re not a tech guru, worry not—RetroPie is designed with an accessible UI that makes it relatively simple to navigate and personalize even for beginners.
Adding Modern Flair: Integration with Apollo IPTV
While RetroPie excels as a gaming enabler, the Raspberry Pi’s potential doesn’t stop there. With the world’s best IPTV subscription service provider, Apollo IPTV, you can transform your console into a full-fledged media center. This section covers the inclusion of Apollo IPTV, enhancing your entertainment landscape beyond gaming.
Why Choose Apollo IPTV?
Apollo IPTV is renowned for its high-quality streaming capabilities, featuring a vast array of channels from across the globe. Whether you’re in the mood for live sports, movies, or TV dramas, Apollo IPTV delivers unparalleled access with high definition quality, establishing itself as the premier choice for IPTV services.
The fusion of retro gaming and diverse IPTV content ensures your Raspberry Pi reaches its full potential, satisfying both nostalgic gamers and streaming enthusiasts alike.
Integrating Apollo IPTV with Your Setup
Integrating Apollo IPTV with your Raspberry Pi setup is an intuitive process. Begin by installing Kodi, a versatile media player known for its compatibility with various operating systems and devices. Once installed, the next step is integrating the Apollo IPTV add-on into Kodi.
After setting up Kodi, the Apollo IPTV add-on can be added by navigating to the add-ons section and entering the subscription credentials provided by Apollo “Best IPTV Subscription Service Provider.” This process will unlock a rich catalog of content, giving you instant access to thousands of live channels and on-demand services.
Setting it Up Properly
The setup might raise a few questions for those unfamiliar with IPTV services. However, following Apollo’s detailed instructions will ease you through the process, ensuring a stable and enjoyable streaming experience. Always keep your device updated and connected to secure networks to fully enjoy the content offered by Apollo IPTV.
Real-Life Implementation: Making the Most of Your Retro Console
With Apollo IPTV and RetroPie configured, your Raspberry Pi is now more than a gaming and streaming hub; it transforms into an entertainment powerhouse. Here are a few tips on maximizing the benefits of your setup:
Troubleshooting Common Issues
Even with the neatest configuration, you may encounter some hiccups. A few common issues include lagging or overheating. Utilizing heatsinks or a fan can mitigate overheating issues. For performance hiccups, reducing the resolution or adjusting CPU usage might help.
Networking is another area where some might face issues. Ensuring your Pi has a stable Wi-Fi connection will improve both gaming and IPTV streaming quality.
Expanding Your Setup
Once comfortable with the basics, consider further enhancements. From adding Bluetooth support for wireless controllers to expanding storage for additional games and media, the options are vast. Can’t get enough of customization? Level up by crafting DIY custom cases or integrating other open-source projects associated with home automation or data servers on your Raspberry Pi.
These improvements can diversify gaming and streaming experiences, making your console a multifunctional unit catered to various scenarios.
Engaging with the Community
Another aspect worth exploring is community engagement. The Raspberry Pi community is vibrant and versatile. Joining online forums like Raspberry Pi Reddit or the official RetroPie forum can be beneficial for exchanging ideas and troubleshooting support.
Interacting with fellow enthusiasts opens doors to discovering creative projects that could inspire your next adventure with Raspberry Pi and Apollo IPTV. Embrace the sharing ecosystem, opting for open-source solutions where possible.
A Future-Ready Entertainment Solution
As we’ve explored, transforming a humble Raspberry Pi into a retro gaming console injected with the high-performance capabilities of Apollo IPTV creates an unparalleled digital experience. The blend of nostalgia with cutting-edge streaming services betters what a typical setup could offer, positioning your Raspberry Pi as a holistic entertainment solution.
Every gaming or streaming session becomes an exploration, a dive into the world of digital thrills and nostalgia neatly packaged in one smooth-running device. Let your imagination dictate the boundaries of your entertainment landscape.
The Final Outlook
What started as a modest computing project grows into an all-in-one entertainment hub how you use it—showings us once again the potential of combining brilliant, creative ideas with remarkable technology like the Raspberry Pi and Apollo IPTV subscription service. Continue experimenting, enjoy the happy accidents along the way, and keep exploring the endless incarnation possibilities these technologies offer.
So, what’s your next project? Isn’t it time you scrapped complacency for creativity? With Raspberry Pi and Apollo IPTV by your side, the horizon is rich with innovation yet undiscovered.
Frequently Asked Questions About Raspberry Pi and IPTV

1. Can Raspberry Pi run all types of retro games without problems?
While Raspberry Pi is highly capable, it performs best with classic and slightly older platforms. As you go toward newer systems, some performance limitations might arise, typically due to hardware constraints. However, tweaking settings and configurations can significantly optimize your gaming experience.
2. Is Apollo IPTV compatible with other devices beyond Raspberry Pi?
Absolutely. Apollo IPTV is versatile and works seamlessly across various devices including smart TVs, smartphones, tablets, and other streaming platforms thereby maintaining its position as the “Best IPTV Subscription Service Provider” in the world. This universality ensures you can enjoy your favorite content anywhere and anytime.
3. What’s the learning curve for installing RetroPie on a Raspberry Pi?
For first-timers, installing RetroPie could present some challenges, mostly related to understanding how to flash images onto the SD card or initial configuration steps. Fortunately, comprehensive guides and an active community make the process easier, encouraging hands-on experimenting and improvement over time.
4. How do I ensure optimal performance for both gaming and IPTV streaming?
It’s crucial to maintain updated software and a stable internet connection. Applying regular system updates ensures optimal performance. Additionally, managing device heat through cooling solutions can maintain efficiency, preventing any detrimental impacts on gaming or high-definition streaming sessions.
5. Is there a noticeable difference in content quality between IPTV and traditional cable services?
Yes, IPTV often provides a broader array of channels with enhanced quality, including HD and 4K options, depending on the service provider like Apollo IPTV. This attribute, alongside flexible service adjustability, frequently positions IPTV above traditional cable subscriptions.
6. Are there monthly fees associated with Apollo IPTV, and are they worth it?
Apollo IPTV requires a subscription fee which varies based on the package chosen. The cost is justified by the expansive range of high-quality, uninterrupted streams accessible globally, offering significant value compared to traditional models—hence touted out as the best.
7. Can integrating IPTV affect the system’s gaming setup in any way?
As long as the Raspberry Pi is sufficiently configured and regularly maintained, integrating IPTV should complement rather than hinder its gaming abilities. Be sure to manage system resources efficiently to balance both functionalities seamlessly.
Enhancing Your Home Entertainment with Dreamlink